GD427 MK IV

GD427 MK IV
One of my first drives out - 8th September 2025 (St Ninian's Isle - Shetland)
Showing posts with label Exhaust. Show all posts

Thursday, 22 June 2023

Exhausting

I noticed while running the car, I would get some condensation dripping under the rear silencer.  On closer inspection I could see a couple of small pin holes in the weld.  I decided to remove the silencers and have them TIG welded by a friend.


I also realised that she didn't sound too even when running.  I tried removing plug leads to try to work out if it was a misfire, I tried to use a laser temperature gun to check each exhaust port - this doesn't work too well since the manifold is shiny stainless.  I then realised the catalytic convertor on the passenger side was extremely hot!

I plugged in my tablet to the CANEMS ECU and sure enough the O2 sensor was not reading on the near side.  After checking around in the dashboard wiring, one of the small wires had broken off from the connector.  A replacement of connector pin fixed the issue and she was back running evenly.  Thankfully not a faulty sensor!

Left hand guage showing bad value

Broken wire shown by badly drawn arrow


Back to normal

Thursday, 11 January 2018

Cylinder Head Steam Vents

There are a lot of theories regarding the steam vent system of the LS engines, and whether to leave the rear 2 blocked off or not.  The theory is that air pockets form in the top of the head and can create hot spots.  I think it depends on how level your engine is whether you should have them open or not....

I decided to play safe and buy a steam vent kit from the USA which links all 4 vents back to the header tank.  I had to relocate the N/S lambda sensor connector bracket that I placed over one of the ports.  I just made a new stainless steel bracket to mount it and bolted it to the block with a short M10 cap screw.

This also meant that I had to drill out the small plug that blocks off the port on the rear of both cylinder heads.  I used a 3mm drill bit with lots of grease and a hoover to slowly drill out the plug.  Once I was down a little bit, I tapped the hole out to put in a M4 bolt.  This then allowed me to plug out the plug without causing too much mess!

I gave the water jacket a good hoover, to ensure no swarf had entered in.

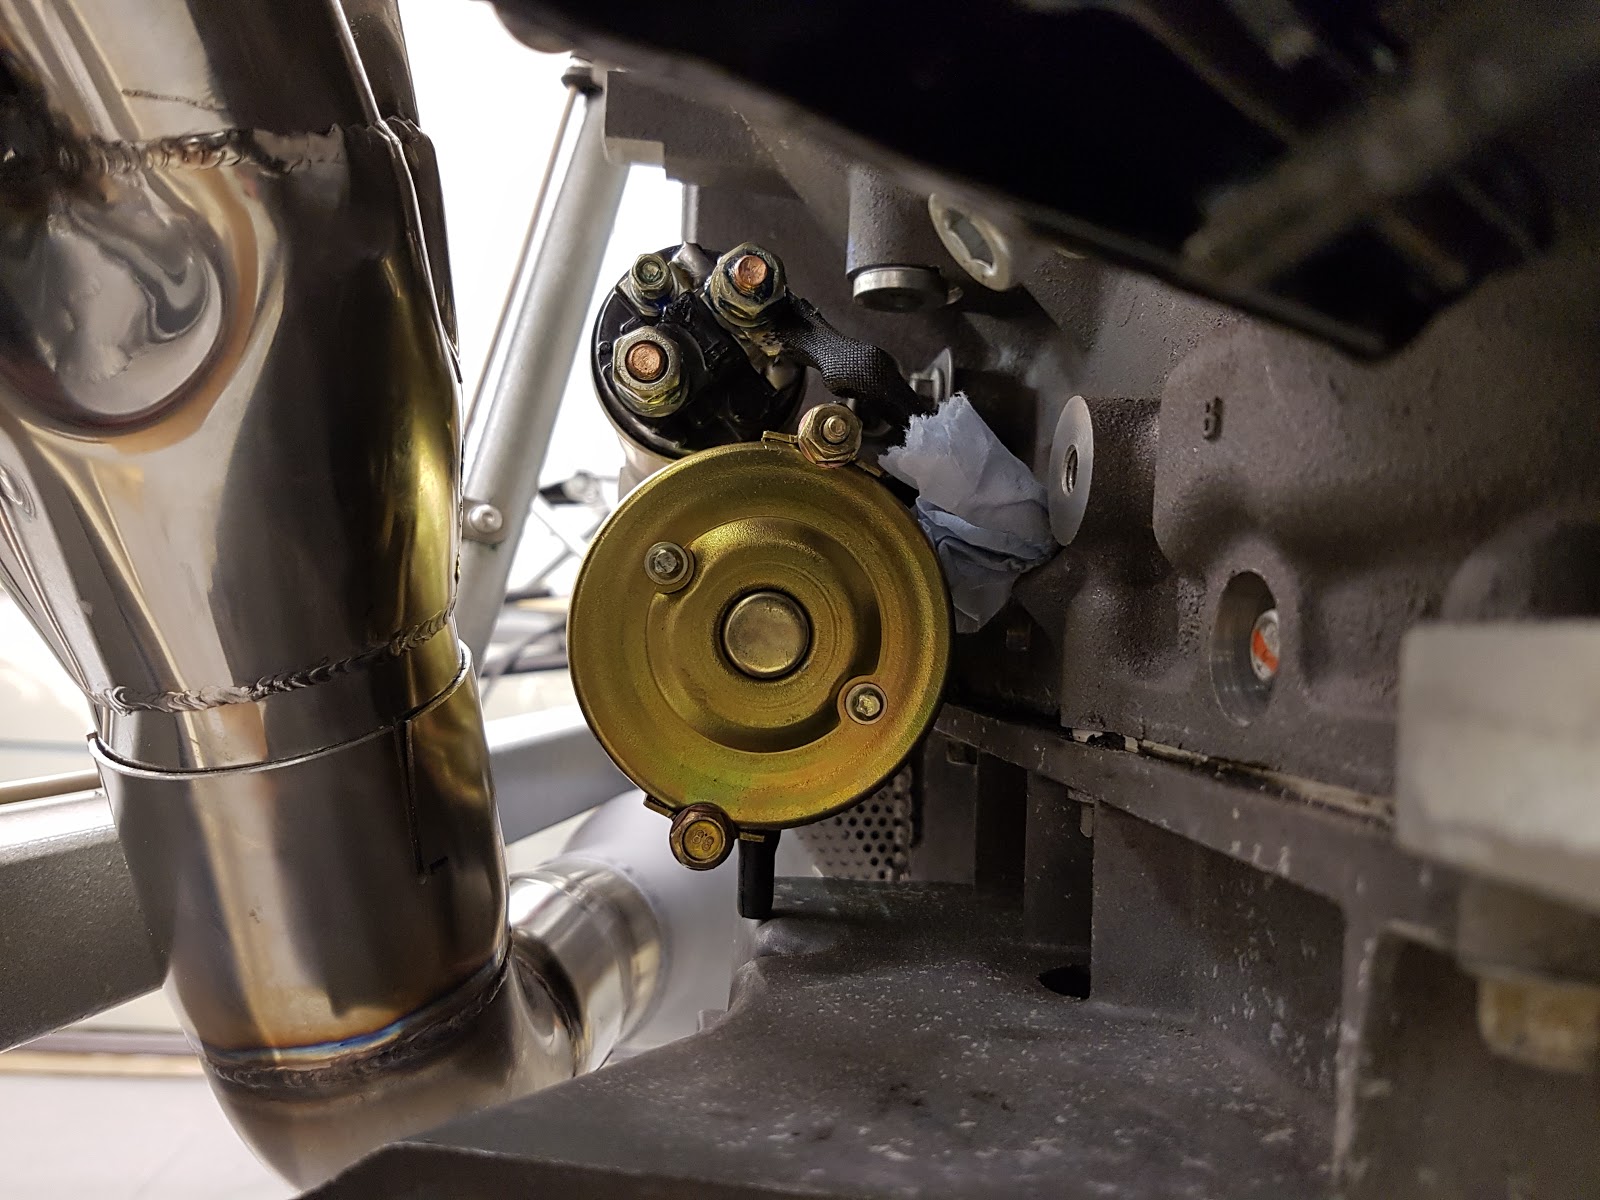
I plugged the holes with paper towel temporarily to prevent any further entry of bits.  I will provide an update once I have fitted the steam vent kit.


Saturday, 2 September 2017

Lambda Sensors

After reading up on the Innovate Lambda sensors Wideband Controller, I decided to add some length to the exhaust bung to make it the 1" as instructed.

As supplied by GD, the bungs were approx 10mm deep.  I found some stainless steel ones on eBay that were 21mm long.  I put them in the lathe and turned them down to 15mm to give me the overall required 25mm length.  A friend then TIG welded them onto the top of the existing bung.

I had to remove the exhaust to be able to do this, and once welded, the exhaust was replaced.


Monday, 28 November 2016

Jacking Point

As mentioned in a previous post (here), I made ready the chassis to accept a jacking point.  I tried my skills at 3D drawing using Solidworks and I managed to sketch what I wanted made including dimensions.  I then had a local company manufacture the unit from stainless steel.


It looks to be a good solid install and a good idea from Larry at Club GD.

Tuesday, 25 October 2016

Exhaust Completion & Jacking Point

After dry fitting the exhaust, and marking each part where it should sit, I managed to fit the rear mounting using the reinforced rubber supplied by GD.  I replaced the steel exhaust clamps with stainless steel ones.


While I was fitting the exhaust, I was conscious about what a ClubGD member - Larry, recommended about a rear jacking point to aid lifting the car once complete.

I studied his write up in the club magazine and decided to make up the same idea.

The only issue I had was that on the rear part of the X-pipe was a welded support fouling where the jacking point would go.


With the rear U-bolts clamp being so robust, I felt that the welded in part wasn't too crucial so I cut it out!  This then opened up an area below the rear chassis rail for the jacking point.

I designed a piece of stainless plate - 6mm x 458mm x 83mm, with a short piece (88mm) of 2 1/2" stainless pipe for centering the jack.

I made a template from the design and marked and fitted 6x M8 rivnuts to the underside of the chassis.


I will post another photo once I have made the plate and fitted it.  I then have to make a fitting to link the jacking point to the jack.....

I then proceeded to finally assemble the exhaust using some Catalytic Converter & Sensor Safe RTV sealer (Granville).


I clamped up the exhaust with stainless steel clamps (INOX) to my pre-made markings and it all seems to fit well.

Thursday, 20 October 2016

Exhausting!

I managed to source some help in dry fitting the exhaust to ensure correct alignment.  This took a bit of maneuvering but I think it is now in a position that it is ready for final sealing and clamping.  I bought some stainless clamps (Similar to Mikalor) which will keep the exhaust system rust free and less likely to hit the ground when driving.

I have marked each joint with permanent marker so that I can disassemble, apply sealer, and reassemble in the correct location.

I have started making the rear rubber mount, and just need to make the final 3 holes to bolt it to the exhaust hanger.

Once I have finally fitted the exhaust, I plan to lower the chassis to the ground onto some build wheels!


Monday, 12 September 2016

Starter Heat Shield

Since fitting the starter and the exhaust manifold, it was plain to see that the starter requirs a heat shield of some sorts.  There is only 17mm of clearance between the two.

I made a cardboard template out of a Shreddies box and then fabricated a heat shield out of 2 pieces of perforated stainless steel sheet sandwiching some fibreglass tape.  This will hopefully help the starter from getting too hot.

I have bought a dipstick so I will have to cut out a section to allow clearance once I fit it.


Friday, 9 September 2016

Exhaust Dry Fit

Apologies for not posting sooner, things have been busy with outside work and I haven't had much time in the garage.

I dry assembled the exhaust to see how it fits and also to mark where the central mounting bobbin requires to be drilled to the gearbox mount.  I pushed all the components together and it seems to fit!  I marked the bobbin and drilled the mount in situ.  I may have to rotate the cats slightly to make a bit more clearance from the chassis.  I will do this just before applying sealer and the stainless clamps.  I also need to drill the rear rubber mount to fix to the chassis.


Friday, 12 August 2016

Exhaust Preparation

To be able to fit the underslung exhausts I had two choices due to the fact that the chassis is sitting on tressels since there is no way of mounting the exhaust.

I could put wheels on and lower the chassis to the ground, however this would limit the space underneath to work with the exhaust.

I opted for placing blocks under the chassis, raising it up by 100mm, but leaving a gap for the exhaust to pass through.  I cut up some wood and held the blocks on the tressel using two pieces of 3/4" plywood and multiple screws.  It is still solid to work on, only a little bit higher.

Perhaps if building another, the steel tressels could be designed to incorporate this gap to allow the exhausts to pass through.

I will dry fit the exhaust system to ensure it all works before sealing each joint and fitting the clamps.


Thursday, 14 July 2016

Exhaust Manifolds

I bought my exhaust manifold gaskets from Monkfish Performance to fit my GD supplied exhaust manifolds.  The gaskets can be found here.

I used stainless steel set screws with spring washers and washers to fit them.

I will have to modify my trestle supports to be able to fit the remaining underslung exhausts.  Watch this space.