GD427 MK IV

GD427 MK IV
What my car should look like when finished - Stoneleigh 2015

Monday 26 September 2016

Dipstick!

Since my LS7 has been converted to a wet sump system, I require a dipstick.  The engine was built using a batwing sump, and the block had been pre-drilled for the dipstick tube.

After searching for a while on the internet, I found the following information from here.

The Dipstick Tube part number should be 12562360 & the Dipstick 12562468.

However, these part numbers have been discontinued and after speaking with Pace Performance, I deduced that the part numbers that I require are:

Dipstick Tube:    12563817
Dipstick:             12574889

I ordered them from the US and promptly fitted them.  I'll have to see how it lines up once the rocker covers are in place, but I think it is not too far off.  I may get a new handle to get rid of the bright yellow one!

Also, once I drain the current level of oil out (added just for preservation), I will fill the sump with the required amount (6.5 qts.) and check the level on the dipstick to confirm this is indeed the correct one!

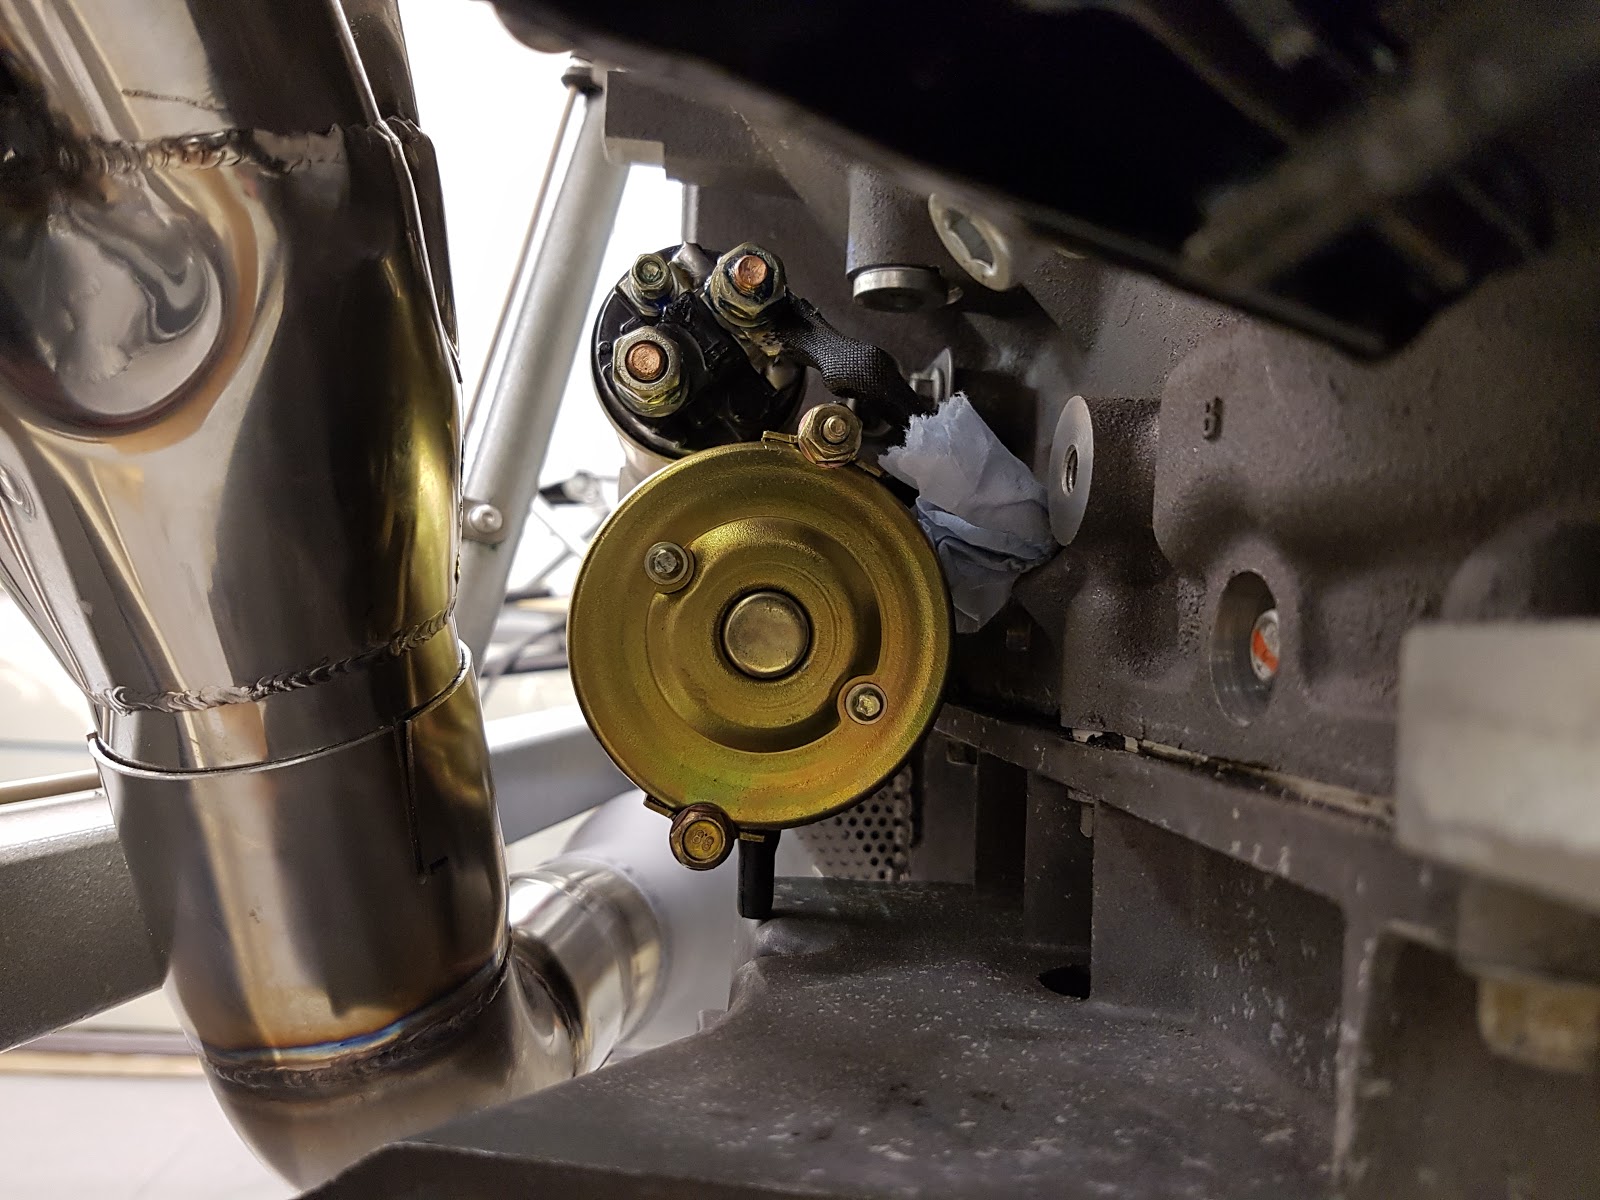
I have notched a little piece out of the heat shield, but I will remove approx 5mm more before adding some edging strip to clean up the install.


Monday 12 September 2016

Starter Heat Shield

Since fitting the starter and the exhaust manifold, it was plain to see that the starter requirs a heat shield of some sorts.  There is only 17mm of clearance between the two.

I made a cardboard template out of a Shreddies box and then fabricated a heat shield out of 2 pieces of perforated stainless steel sheet sandwiching some fibreglass tape.  This will hopefully help the starter from getting too hot.

I have bought a dipstick so I will have to cut out a section to allow clearance once I fit it.


Friday 9 September 2016

Exhaust Dry Fit

Apologies for not posting sooner, things have been busy with outside work and I haven't had much time in the garage.

I dry assembled the exhaust to see how it fits and also to mark where the central mounting bobbin requires to be drilled to the gearbox mount.  I pushed all the components together and it seems to fit!  I marked the bobbin and drilled the mount in situ.  I may have to rotate the cats slightly to make a bit more clearance from the chassis.  I will do this just before applying sealer and the stainless clamps.  I also need to drill the rear rubber mount to fix to the chassis.