GD427 MK IV

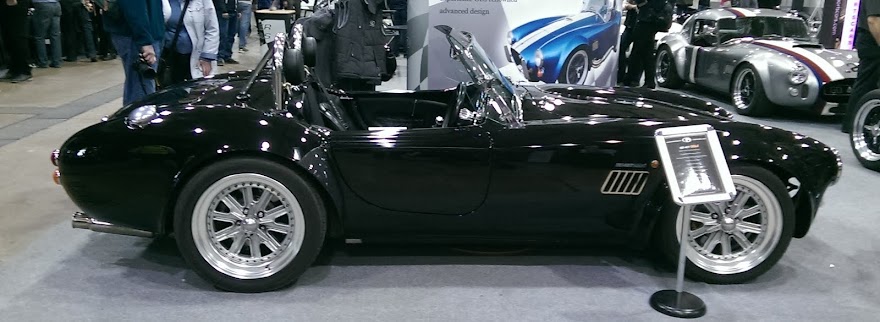
What my car should look like when finished - Stoneleigh 2015
Wednesday 14 March 2018
Heater Pipes - Installed
I fitted the GD supplied stainless heater pipes which are fitted to the chassis inside the engine bay. This allowed me to fit the 90 degree heater hoses to link my stainless tubes to the heater matrix. I used a stainless steel joiner along with stainless jubilee clips (not shown on photo) to join the hoses.
Tuesday 13 March 2018
Car Electrics
I researched a bit on types of batteries since I wanted to get a battery as big and powerful as possible. I decided to go for an Optima Red-Top battery which is a sealed AGM (Absorbed Glass Mat) type. This is designed as an ultimate starting battery which delivers "a strong burst of ignition power". Measuring the battery meant that I cut a small bit out of the stainless battery tray to ensure it was going to fit. I went for the RTU 4.2 version. My plan is to use the front connections as a charging point linked to an Anderson connector in the engine bay.
I also have decided to fit a battery brain which cuts off the battery if you accidentally leave anything switched on. This allows you still to be able to start the car once you switch it back on again. It can also be used as an anti-theft device since it comes with coded remotes to switch it on and off.
I mounted this in the front passenger wheel well and made off the ends of all the cables once cut to length. The photos don't show it, but I have fitted the battery clamp and connected the main wire to the starter too.
Brake & Clutch Fluid Reservoirs
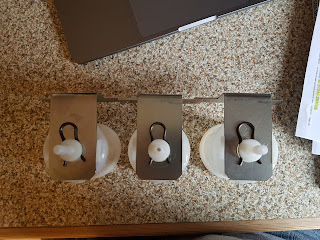
I decided to use 3x single reservoirs for the brake & clutch fluid. I also decided that I wanted to run the flexible brakes hoses inside the bulkhead so that they weren't in the engine bay crossing the steering column.
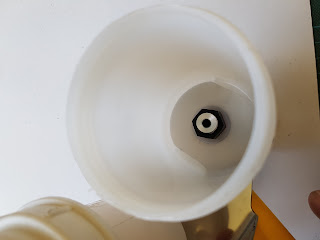
The supplied brackets for the reservoirs were just plated steel so the first thing to do was create a new 1-piece stainless steel bracket that held all 3 reservoirs. I measured them and then drew up a plan using Solidworks. The reservoirs I used have a float with test switch built in, which is an IVA requirement (along with the stickers). They came with just a hose connection, but since I wanted to use flexible hoses, I removed the connection, drilled and fitted aluminium -AN4 fittings with o rings which could then fit to bulkhead connectors to go to the master cylinders.
Where the front, rear and clutch fittings come up to in the engine bay, I marked where holes should go for 90 degree end flexible hoses. I could then determine if it was all going to fit.
Once the bracket was made, I assembled the 3 reservoirs along with 90 degree fittings. This then allowed me to work out where on the bulkhead these could be mounted. I used masking tape and drew on a grid on the bulkhead and fitted the bracket with double sided tape. This allowed me to stick the bracket to the bulkhead and close the bonnet. From the front wheel well, I could look in with a torch and look at the marked grid to see where it could be moved.
Because of the fuel pressure regulator, and bonnet height it doesn't fit perfectly as desired. I had to offset one of the holes in the bulkhead coming from the high pressure side of the master cylinder.
I then connected up the fluid level switch wires and should now just require the stickers.
Sunday 11 March 2018
Cylinder Head Steam Vents - Update
You may remember when I was working with the cylinder head steam vents. I managed to install the vent pipework, however I had to modify the inlet to the expansion tank. The braided hose couldn't expand enough to fit onto the GD supplied tank, so I had to weld on a short 6mm stainless tube to allow the hose to fit. The photos below shows the unmodified fitment and the route of the hose.
The hose was routed under the fuel injector wires and so is a very neat install.
The hose was routed under the fuel injector wires and so is a very neat install.
Subscribe to:
Posts (Atom)


