GD427 MK IV

GD427 MK IV
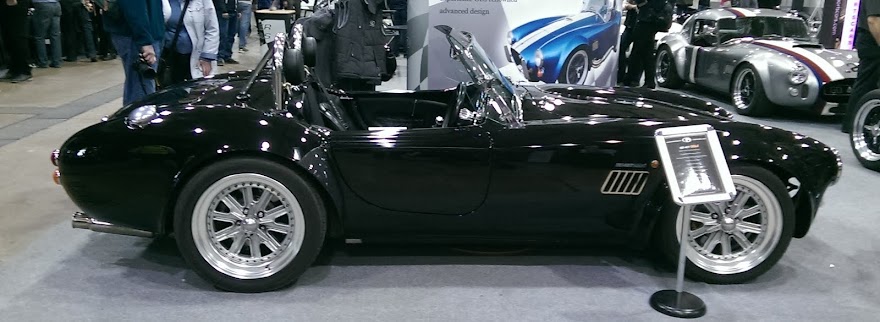
What my car should look like when finished - Stoneleigh 2015

Friday 29 April 2016

Fuel System

I am pondering over what fuel system to use, and I am swaying towards an Aeromotive system with dual in-tank pumps.

I have decided to run 1/2" kunifer supply and return lines to future proof the system.  Initially I was going to install the engine / gearbox to see how the fuel lines could be run and then remove them to give me some space to drill mounting holes etc.

Once the engine and gearbox were in, then I thought I could run the lines and drill all the necessary brackets.  This has been proved possible, but with hindsight I maybe should have taken the engine and gearbox out again!

I managed to feed the lines in from the engine bay right through to the diff.  I then bent the lines into position and using rubber lined stainless p-clips and stainless spacers, I fastened them to the chassis.


I have fabricated one bracket to piggy back the two p-clips.  I still need to make another one...  I used a self clinch stud so the back of the bracket can remain flush to the 2nd p-clip.


I have bought some hard line to -8AN compression fittings which I will figure out where to finally cut the kunifer line and swage the fittings.  I will have to alter the mounts at each end to ensure that the fittings are accessible.

That will be tomorrow's job...


Sunday 17 April 2016

Alternator

I bought a new alternator from Motorsport-Tools which is what GD use at the factory I believe.  The mounting holes perfectly line up to the front of the LS block, apart from 8mm spacers are required and a small section of aluminium is required to be ground out of the block.

I held the alternator up to the block and marked the area that required to be ground away.  I used my proxxon cutter to remove the material.


I then had to make up some aluminium spacers so that the belt pulleys lined up.  These were made to a size of 20mm O/D, 10mm hole and 8mm deep.

M10 stainless bolts were used to bolt the alternator to the block.


I used some string to measure the length of required belt.  With the tensioner at it's tightest the length was 1290mm.  With the tensioner in it's resting position it was 1350mm.  It is a 6 rib belt required so I will try one and see what fits.

Thursday 14 April 2016

Handbrake - Update

I have been thinking about the handbrake mechanism and how it works.

I decided to add in some bushes so that the stainless bolts could be tightened and still allow the mechanism to move smoothly.  I prefer to do it this way rather than rely on a nylon lock nut tweeked until it's "just right".

I turned down some stainless tubing (10mm O/D) to just thicker that the stainless plate (6mm).  I then drilled a 10.5mm hole in the stainless plate to allow clearance for the bush.

The bush is a little slack in the hole, but when tightened up fully, it rotates very smoothly.

I did this for both ends of the mechanism.


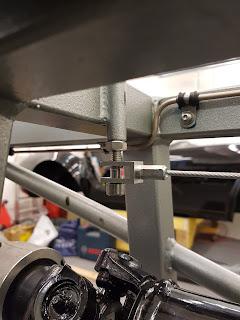
I have bolted up the end of the handbrake cable using a stainless bolt.  Once installed and set to the correct height, I have now bought a M8 bolt with a longer shank so that the handbrake cable end doesn't touch the threaded part of the bolt.


I mounted a rubber coated stainless p-clip on the rear brake tee-piece to help guide the handbrake cable.  I will place another p-clip on the differential to assist too.  The external sheath of the cable actually moves the handbrake mechanism so the route of the cable has to be kept neat and with sweeping bends to keep it all smooth.