GD427 MK IV

GD427 MK IV
One of my first drives out - 8th September 2025 (St Ninian's Isle - Shetland)
Showing posts with label Fuel Tank. Show all posts

Saturday, 24 February 2018

Fuel Supply - Complete

I fitted a couple of stainless P-Clips to the supply and return hoses that fit to the bulkhead fittings in the boot to satisfy the requirements of the IVA.


I was concerned about the smell of fuel in the boot of the car, along with the garage so I did some research online and came up with the following: 


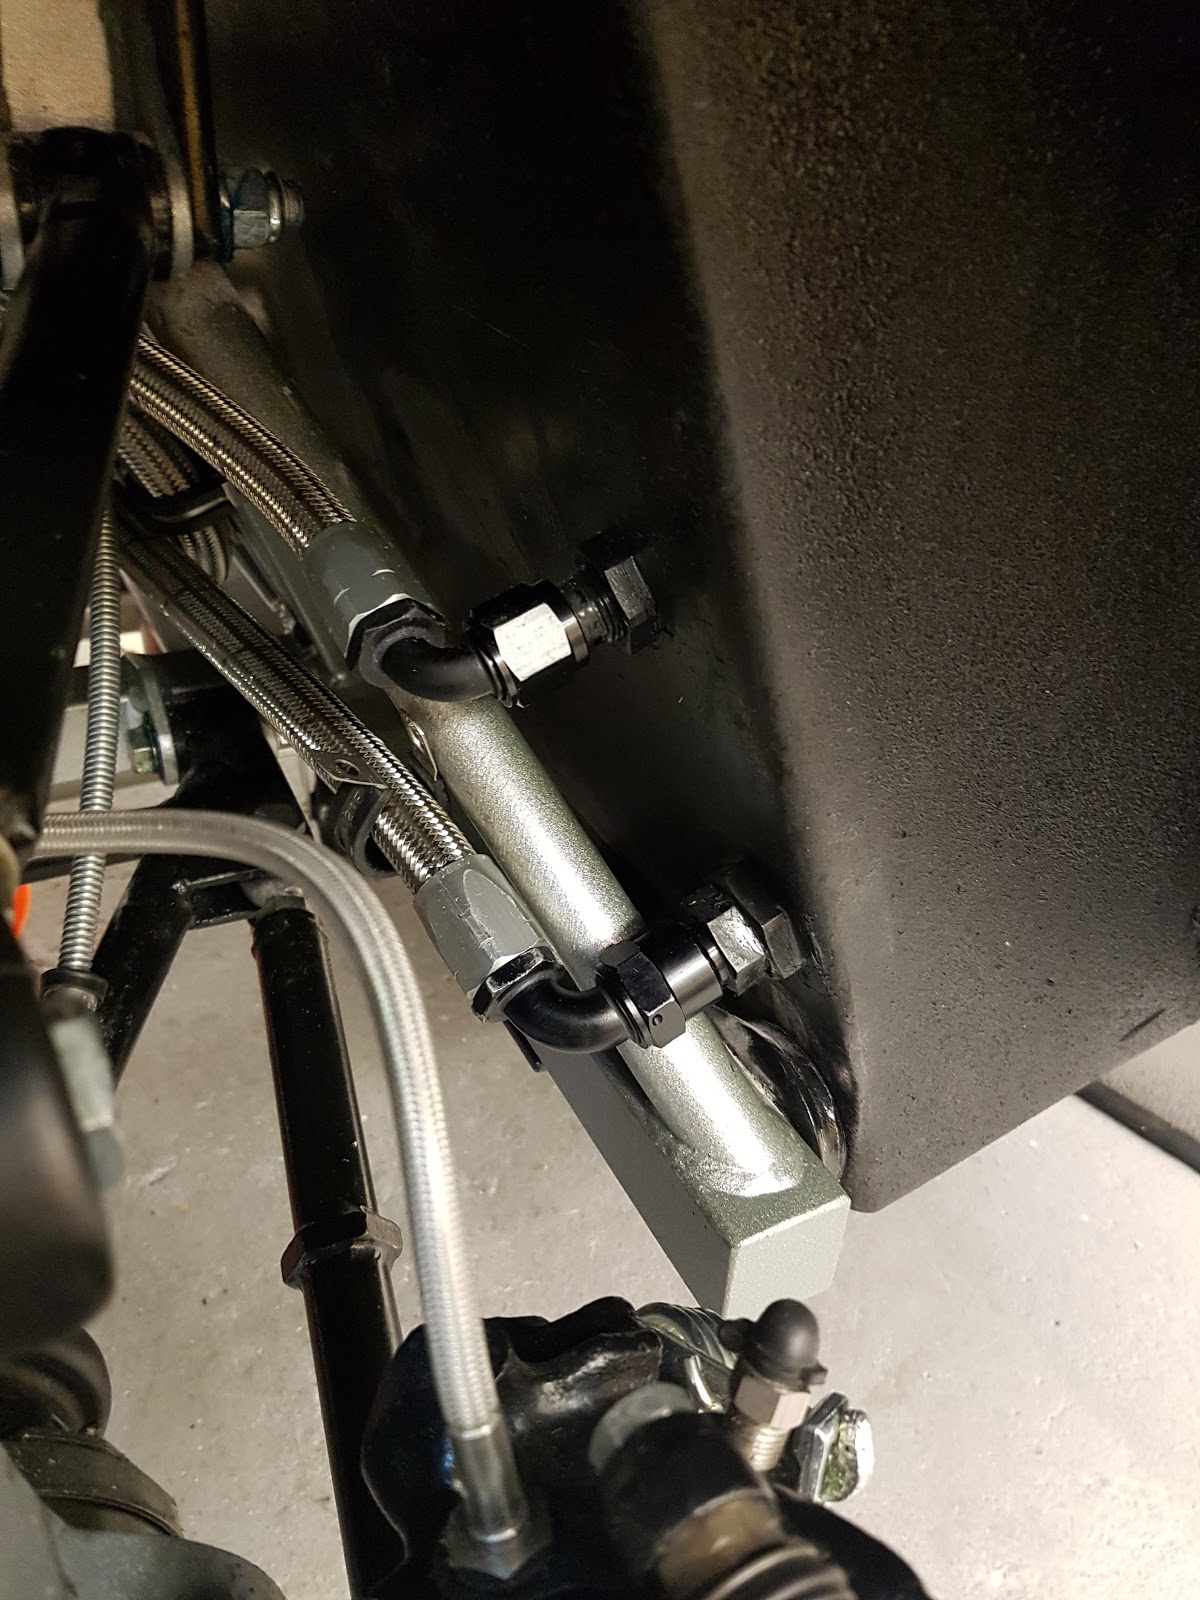
  • Standard rubber fuel hoses won't leak fuel, however the fumes will pass through them.  For this reason, PTFE lined hoses need to be used to prevent this.  I used Goodridge 811 Series PTFE hose. 
  • The fuel tank requires to be vented for the filling and emptying of the tank in normal operation.  This basically means that the fuel tank is open to the atmosphere and therefore vents into your garage when the vehicle is at rest.  Normal production cars have systems that feed the fuel tank vents back into the engine through an emissions control system.  Since this is far too complicated to do, I chose a different method.
  • I found a two way valve from Newton Equipment Ltd (TPV8) that states that the valve remains closed when the engine is switched off, therefore preventing fuel smells in the garage.  The valve allows the fuel tank to breath when both filling and emptying and can be mounted in any orientation.
I mounted the Newton valve inside the N/S rear footwell as high up as it could be mounted.  Hopefully this will clear the tyre!  This involved drilling a hole through from the boot and using some P-Clips to mount the valve.  On the outlet of the valve I fitted a standard fuel filter just more as a dirt filter to prevent dirt being sucked into the tank.  I used stainless jubilee clips with hose end covers.  I sealed the hose exit using some sealant to prevent water ingress.


Before fitting the tank and making up the last of the fuel hoses from the pumps, I covered the tank and boot in Silent Coat sound deadening pads.  These make a huge difference to the resonance of the fibreglass and the stainless fuel tank.  I really went to town with it, maybe a bit too much, but I didn't want to have steps in the carpet once it was laid.  I did the boot floor, wheel arches, rear bulkhead, main seating area, engine bulkhead and under the dashboard.  It has added a good bit of weight!


Once the fuel tank was in position, I cut the fuel pump wires to length and crimped the ends.  This will all require clipping into place, but I will wait until I finalise the rest of the boot lights.


The wiring harness from the pumps was run through the passenger footwell and clipped using P-Clips.  The heateed seat wiring was also joined in with the run.  This wiring will be covered with tape prior to the carpets being glued in position.


Thursday, 11 January 2018

Fuel Supply

With the roll hoops fitted, I moved onto the fitment of the fuel tank connections.  I placed the fuel tank in the boot and planned what fuel hose should go where to minimise protrusions.

I have also decided to put valves in line with the supply and return since it seemed like a good idea at the time...

I loosely put together the y-piece, the valve and the elbow to see where the bulkhead fittings could be mounted.  This was slightly tricky due to the rear chassis bracing that runs up past the gap between the fuel tank and body.

I used masking tape to help see my drill points and drilled through for the -10AN bulkhead fitting for the supply, and the -8AN 90° fitting for the return.  This meant that I could now cut the fuel hose to the correct length and fit the hose ends.

Once cut to the correct length, the -10 supply hose was removed from the fuel filter to fit the hose end on the bench which was easier than doing it in situ.  The return line had to be done in situ, however the -8 fittings are easier to work with than the -10 due to the smaller size.

Once this was all dry fitted, I applied some sealant around the bulkhead fittings to help hold them in place.  I still need to fit a p-clip to each of the hoses.  Next job will be to make up all the short lengths of hose from the top of the tank to the bulkhead fittings.

There isn't a lot of room.....


Fuel Pumps and Sender

I bought some Blue Hylomar sealant which is fuel proof to put around the bolts and gaskets on the bolts that go onto the fuel tank.  The Aeromotive kit for the fuel pumps system came with a foam style gasket and nylon washers an lock nuts.

The VDO sender came with a rubber gasket and I used stainless M5 button head set screws with spring washers.

For information, the VDO sender showed 85.5 Ohms when empty, and 4.2 Ohms when Full.  I may need this when ordering gauges!


I then thought I had better service test the fuel system before fitting the body.  The y-piece fuel fitting under the transmission cover being the one of most concern.

I put some hose fittings onto the end of the fuel hose at the rear and connected up the supply hose, with the return temporarily going into a waste tank to flush the lines.  The tank was then filled with some fuel - enough to feed the pump.

I opened the garage door to ensure there was plenty of ventilation before connecting the pump directly to a battery.  I pulsed the pump a little, just to ensure there were no leaks anywhere.  Once I was happy, then I let some more petrol flow into the waste tank.  I then connected the pump to run full time.

There were no leaks!!  My son ensured I had not missed any.

I then tweaked the fuel pressure regulator to reach the required pressure of 58psi.  This may be tweaked later on when on a dyno, but this is now set.

Very happy with the fuel system, so shut off the pump, and drained down what I could of the fuel lines.  This now means my garage smells of petrol.....  And my clothes....


Saturday, 28 October 2017

Fuel System - Fuel Tank & Pumps

I received my modified fuel tank back from the welder, so I decided to get the fuel pumps installed.  As I mentioned earlier on my blog, I have gone for an Aeromotive Phantom Stealth twin pump setup.  This was the reason the my standard tank had to be modified.  An Aeromotive install guide can be seen here on Youtube:  here


The tank is now wide enough to accept the foam baffle for the Phantom system.

I lined up the baffle alongside the tank, and marked out where the centre will be before drilling.


I then drilled the hole in the tank to accept the bolting down ring for the pump assembly.


The twin pumps were assembled onto the mount and it was modified to be the correct length to ensure the pump suction was as low as possible.


I dry fitted the pump assembly to ensure that the pump filters touched the bottom of the tank. (Photo taken in through the fuel sender hole)


I then looked at what fittings I require to connect up the hoses for the neatest installation. This layout may change once I start putting the hoses in...  I have bought 2x valves so I can isolate the tank for filter changeout etc.


Once all dry fitted, I installed the foam baffle unit with rubber bladder, ready to bolt in place.  I am going to use some fuel proof sealant to seal around the bolt threads before finally installing.  I bought a 310mm VDO dip tube for fuel level, since a normal float sender would foul in the baffle.  I lifted the tank into the boot, and so now just need the straps made to hold the tank in place.  I will take the tank out again to finish off mounting the boot lid catch.


Wednesday, 28 June 2017

Fuel Tank Modification

You may remember that I said about modifying my fuel tank to accept the Aeromotive Phantom system for my twin pump setup (here).  I played around with some templates to ensure that the tank could still fit into the boot through the opening.  This is quite tight, but with some cardboard and string attached to the GD tank, I managed to find a shape that could still fit in to the boot, and fit the Phantom baffle / basket.

You can see from the pictures, the folded pieces temporarily attached show the proposed profile.  This was tested in the boot and it just fits.  I obviously have to sacrifice some boot space, but at least I may be able to travel further with the added fuel capacity!  I just need to fabricate the entire back of the tank along with new sides.  This will be leak tested once complete.


A quick reminder of what the Phantom baffle / Basket looks like:


Tuesday, 11 April 2017

Fuel Tank

Since I have gone for an Aeromotive Phantom fuel system with in-tank pumps, the supplied tank won't fit the foam / rubber swirl pot.  I have looked at it and have decided that the tank requires alteration to enable this part to fit in.

I have passed it onto a good friend who is looking at doing the modifications for me using a TIG welder.  I looked at purchasing one and doing it myself, but I think a professional welder will be able to create a leak free tank...

I will update the blog once I receive the modified tank.